Table of Contents
How to Create a Product Grid and List View in Shopify Using jQuery
In today’s competitive e-commerce landscape, providing users with an intuitive and accessible navigation experience is crucial. One effective way to enhance usability is by offering multiple views for product listings. Some users prefer a Shopify product grid layout, while others opt for a Shopify list view. In this article, we’ll walk you through creating a custom feature in Shopify that allows users to toggle between these two views using jQuery.
Overview of the Functionality
This feature gives users the flexibility to switch between different product display options on your website. Rather than limiting them to a single view, such as a grid of images, customers can choose a list view for a more organized presentation. This functionality is designed to work seamlessly on both desktop and mobile devices, ensuring a smooth, responsive product display across all platforms.
Key Features
- Choose Your View: Users can easily toggle between grid vs. list view Shopify via a visible button or option on the page, enhancing user interface design Shopify.
- Click to Change: A simple click on the desired view will rearrange the products accordingly—grid for visual appeal or list for organization, improving overall e-commerce product display.
- See It Your Way: Users can switch back and forth between views at any time, catering to their personal preference, which enhances their shopping experience.
- Responsive Design: The feature is optimized for both desktop and mobile devices, providing a consistent experience for users regardless of their device.
Configuration and Setup
Follow these straightforward steps to implement the product grid layout and list view feature on your Shopify store.
Step 1: Add the Custom jQuery Plugin
- Download the Plugin: Obtain the custom jQuery plugin for jQuery product display.
- Upload to Your Project: Place the downloaded plugin into your Shopify project’s directory structure, ideally in a folder dedicated to JavaScript files.
Step 2: Implement in the Main Collection File
- Locate the Main Collection File: Access the main collection file within your Shopify theme customization.
- Include Plugin Scripts: Within this file, add the necessary script tags to include the jQuery plugin. Ensure that the plugin is loaded before any custom scripts that utilize its functionality.
Ready to launch your Shopify store? We will create a standout site with our development and optimization to build a store that sells.
Contact us now and get your store up and running fast!
Final Output and Behavior
Desktop View:
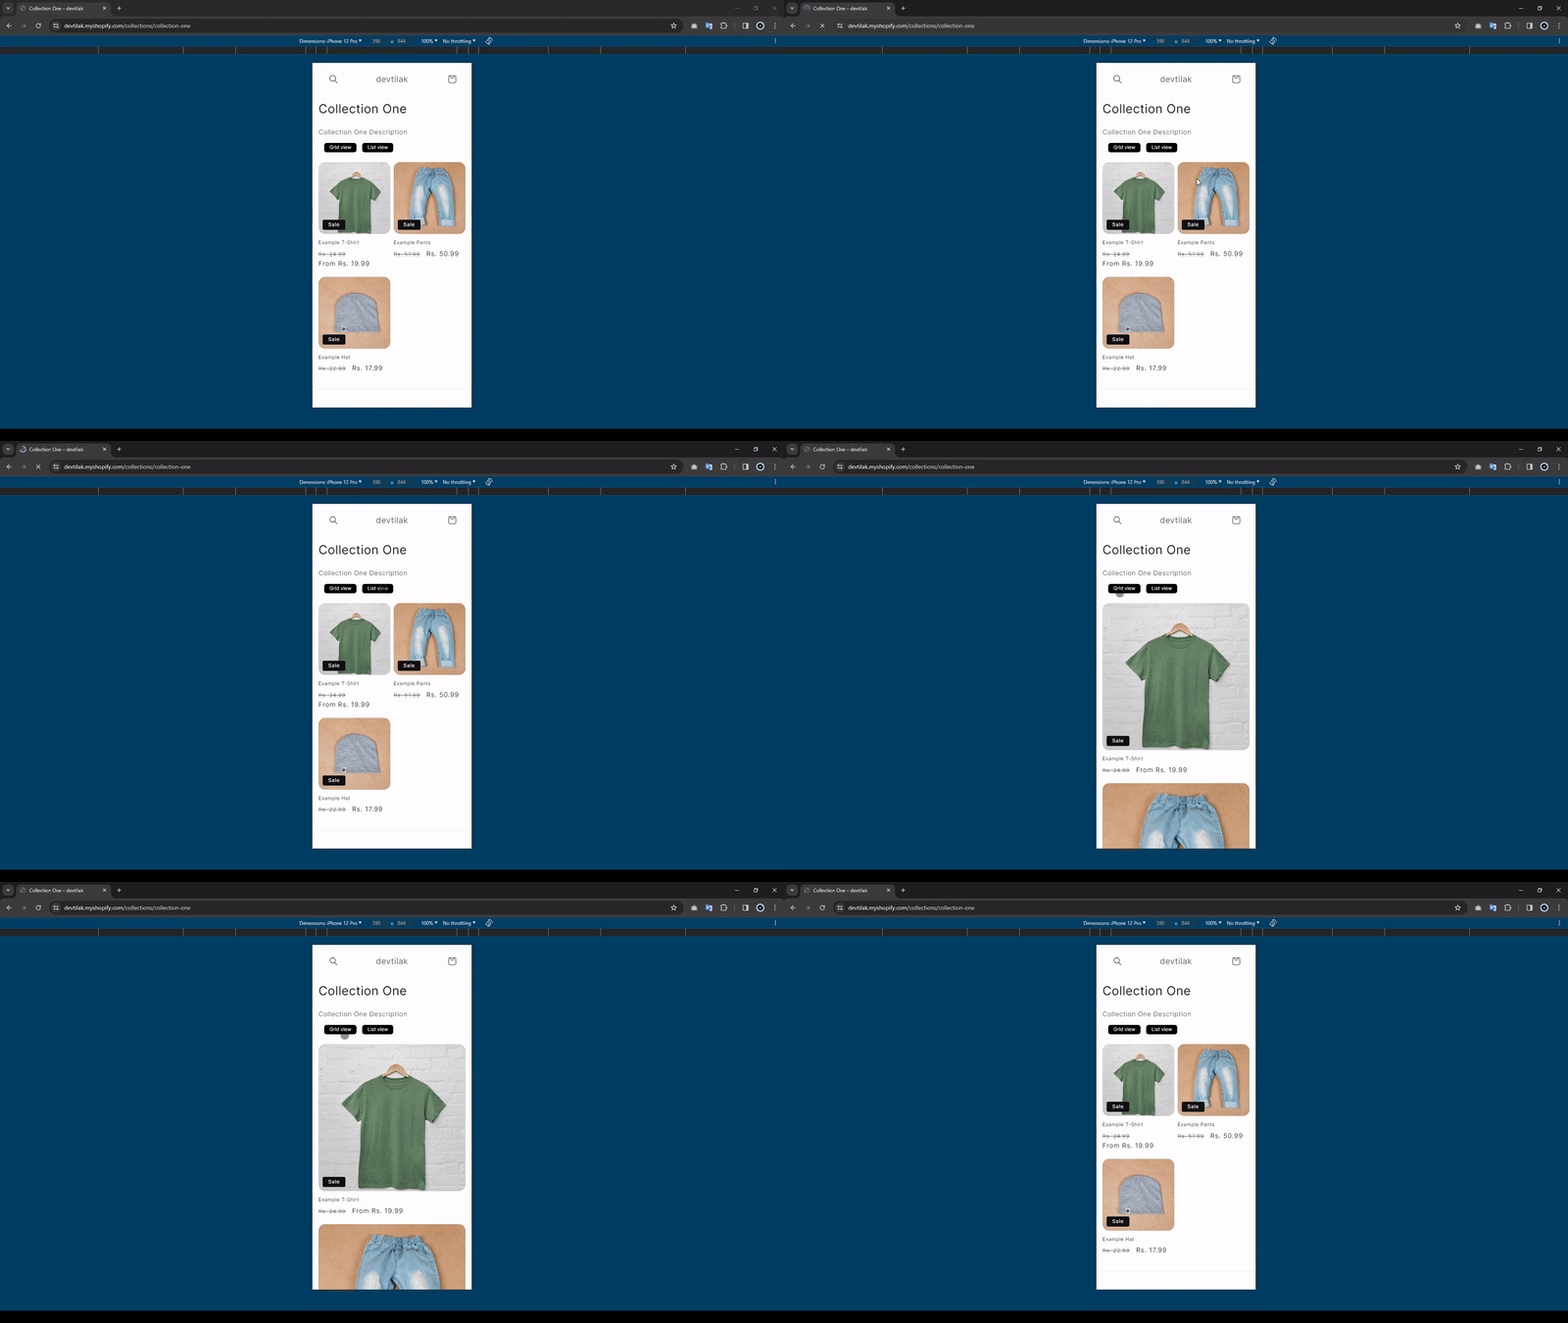
On desktop, users can toggle between a visually appealing Shopify product grid layout showcasing product images and a more organized Shopify list view detailing product information.
Mobile View:
On mobile devices, the same toggle feature provides a responsive experience, ensuring users can easily navigate products in their preferred format, whether it’s a grid or a list.
Benefits of Implementing Grid and List Views
Improved User Experience
Offering multiple viewing options caters to different shopping preferences, making it easier for users to find products.
Increased Engagement
Customers are more likely to spend time on your site when they can interact with it in a way that suits them.
Enhanced Product Discovery
A Shopify list view can highlight product details, while a Shopify product grid focuses on visuals, improving overall product visibility.
Responsive Design
This feature works well on all devices, ensuring a seamless experience whether on desktop or mobile.
Customization Flexibility
Easily adapt the feature to align with your Shopify theme customization, enhancing your brand’s aesthetic.
Conclusion
Implementing a Shopify product grid and list view improves user experience by catering to different preferences. With simple steps using jQuery, you can create a responsive feature that enhances navigation and boosts engagement. Start customizing your Shopify templates today!


